Install on Ubuntu 22.04
How To Install the Ampache Music Streaming Server on Ubuntu 22.04
ORIGINALLY BASED ON howtoforge
Ampache is a free, open-source, and web-based software that allows you to host your own music streaming server. With Ampache, you can access your music and video over the internet. You can view, edit, and play your music via a web browser or any media streaming client.
Features
- Powerful API and streaming to any client
- Flexible catalogs and customization
- Modern HTML5 Web Player
- Support various authorization methods such as MySQL, LDAP, HTTP and PAM
- Compatibility with any Subsonic client
In this tutorial, we will learn how to setup Ampache music streaming server on Ubuntu 22.04.
Installing on a new server? Ubuntu 22.04 leaves standard support in April 2027, and it ships PHP 8.1 so every current Ampache needs a third party PHP repository here. Ubuntu 26.04 LTS ships PHP 8.5 in the archive and is the easier target. Use this page if 22.04 is what you already run.
Prerequisites
- A server running Ubuntu 22.04.
- A root password/sudo access setup on your server.
All of these commands were run as root user using the sudo command
sudo su -
this will change your user to root without having to continually add sudo the each command.
Getting Started
Before starting, it is a good idea to update your system's package to the latest version.
You can update them using the following command:
apt-get update -y
apt-get upgrade -y
Install LAMP Server
Ampache runs on the webserver, written in PHP and uses MySQL/MariaDB to store its data. So you will need to install Apache, MariaDB, PHP and other required PHP extensions in your system.
Ubuntu 22.04 ships php8.1, which no supported Ampache runs on. Ampache8 requires PHP 8.5, and Ampache7 wants 8.1 to 8.4.
For this tutorial we will install php8.5 from deb.sury.org, which packages every current stable PHP version and installs it beside the system one.
Add the sury php ppa and press ENTER to confirm
add-apt-repository ppa:ondrej/php
After adding the PPA and then update your package list
apt-get update
Install the server packages
This will install everything you need and probably some things you don't need.
apt install apache2 mariadb-server \
    php8.5 php8.5-cli php8.5-curl php8.5-gd php8.5-intl php8.5-mbstring php8.5-mysql php8.5-xml php8.5-zip php8.5-ldap \
    ffmpeg flac lame vorbis-tools inotify-tools libavcodec-extra zip unzip curl
Installing Ampache7 instead? Use the php8.4 packages everywhere below in place of php8.5.
Ubuntu 22.04 ships MariaDB 10.6, which is new enough. Ampache needs MariaDB 10.x or MySQL 8.x or later.
Set default php to php 8.5 (if you want. if you haven't installed php before these will probably not be needed)
This will make sure when you type php commands are linked to the version you want.
update-alternatives --set php /usr/bin/php8.5
update-alternatives --set phpize /usr/bin/phpize8.5
update-alternatives --set php-config /usr/bin/php-config8.5
Apache also has to run the new version rather than the packaged 8.1:
a2dismod php8.1
a2enmod php8.5
systemctl restart apache2
Once all the packages are installed, open the php.ini file and tweak some settings:
nano /etc/php/8.5/apache2/php.ini
If you want to be able to play and download large files it's a good idea to extend the size limits.
upload_max_filesize = 500M
post_max_size = 500M
memory_limit = 512M
You should set your server timezone too. php.net
date.timezone = Australia/Brisbane
Save and close the file when you are finished. Then, restart the Apache service to implement the changes:
systemctl restart apache2
NOTE the command line uses /etc/php/8.5/cli/php.ini instead. Catalog scans and cron jobs read that file, so change both.
Configure MariaDB Database
By default, MariaDB is not secured. You can secure it by running the following script:
mariadb-secure-installation
Answer all the question as shown below:
Enter current password for root (enter for none):
Switch to unix_socket authentication [Y/n] N
Set root password? [Y/n] Y
New password:
Re-enter new password:
Remove anonymous users? [Y/n] Y
Disallow root login remotely? [Y/n] Y
Remove test database and access to it? [Y/n] Y
Reload privilege tables now? [Y/n] Y
NOTE It seems that setting the password above may not be enforced on Ubuntu, because root is still set to unix_socket authentication.
After running through this step you can enforce the localhost password by logging into MariaDB and setting your password manually
mysql -u root mysql
You should get to the MariaDB console
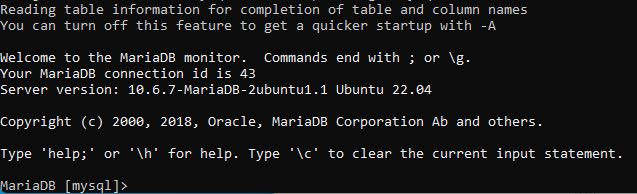
Set your password for root and reload the privilege tables. On MariaDB 10.4 and later use ALTER USER; the old GRANT ... IDENTIFIED BY form is gone.
ALTER USER 'root'@'localhost' IDENTIFIED VIA mysql_native_password USING PASSWORD('YOURPASSWORD');
FLUSH PRIVILEGES;
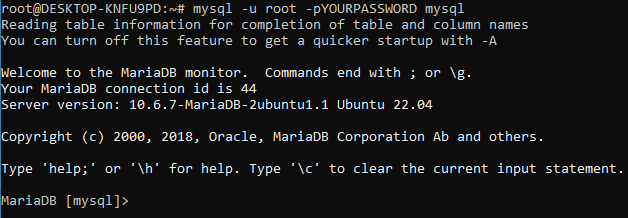
Use exit to leave the MariaDB shell and log in again with your new password:
mysql -u root -p
Did it work? exit again and lets move on
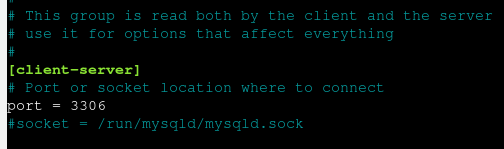
Another thing is make sure your database server is running on a port instead of the socket
nano /etc/mysql/my.cnf
make sure you're running on the port not the socket and then restart the server
systemctl restart mariadb
Download Ampache
Now we will download the latest Ampache release and extract it.
Ampache publishes several zips per release. The _php8.5 one has the composer and npm packages already built in, so nothing needs compiling — see Which zip? for the others.
cd /tmp
wget https://github.com/ampache/ampache/releases/download/8.0.0/ampache-8.0.0_php8.5.zip
Replace 8.0.0 with the version you are installing.
Once the download is completed, unzip the downloaded file to the Apache web root directory:
unzip ampache-8.0.0_php8.5.zip -d /var/www/ampache
Prefer to track the code with git? That works too, but you build the dependencies yourself and you need Node.js ^20.19.0 or >=22.12.0 for the asset build, which is newer than the nodejs package in 22.04 (NodeSource has current builds):
apt install git composer
cd /var/www
git clone -b develop https://github.com/ampache/ampache.git ampache
cd ampache
composer install --no-dev --prefer-dist --no-interaction
npm install
npm run build
HERE CHOICES BE
Do you want ampache accessible from the hostname? (https://ampache.mysite.com)
or as a subfolder? (https://www.mysite.com/ampache)
The ampache website is actually in it's own folder (/var/www/ampache/public) so you can point this folder using links depending on what you'd like to do.
Ampache as a subfolder
The default Apache website folder on Ubuntu is /var/www/html
So to make your Ampache site sit as a subfolder; link it as a sub directory of that folder.
ln -s /var/www/ampache/public /var/www/html/ampache
Ampache as the primary website
If you just want Ampache without anything else you can remove the default files and use that folder for Ampache.
Remove the default website folder
rm -rf /var/www/html
Then link to your website base directory
ln -s /var/www/ampache/public /var/www/html
Set up the permissions
Next, change the ownership of www directory to www-data:
chown -R www-data:www-data /var/www
The previous guide had a section on creating a music folder and setting permissions.
You should know about mounts and adding your folders to a server before you've gotten this far.
I always prefer to have my web services to have read-only access to my media folders.
Configure Apache for Ampache
If you want to use HTTPS/SSL connections you can set up your server with a hostname
nano /etc/apache2/sites-available/000-default.conf Add the server hostname to the file above ServerAdmin:
ServerName ampache.mysite.com
Ampache needs URL rewriting or streaming, the Subsonic API and the REST API all return 404. See Rewrite Rules.
The shipped .htaccess files only work if Apache is allowed to read them, so add this to the same file:
<Directory /var/www>
    AllowOverride All
</Directory>
Recent Apache versions can also reject Ampache's streaming responses (issue 3993). If nothing plays, add:
<Directory /var/www/ampache/public/play>
    SetEnv ap_trust_cgilike_cl 1
</Directory>
Save and close the file when you are finished. Then, check the Apache configuration file for any error with the following command:
apachectl configtest
You should get the following output:
Syntax OK
Next, enable the required apache modules with the following command:
a2enmod rewrite
Write out the .htaccess files Ampache needs (add -p to also write the optional root one that blocks private paths):
cd /var/www/ampache
php bin/installer htaccess -e
Finally, restart the Apache service to apply the changes:
systemctl reload apache2
Secure Ampache with Let's Encrypt SSL
If you're setting up an external site you want to configure SSL.
Make sure certbot is installed snapcraft.io
apt install snapd
snap install certbot --classic
Once installed, run the following command to install the Let's Encrypt SSL for your website.
certbot --apache -d ampache.mysite.com
Follow the process and install an ssl cert with redirection to your server.
Once you are on HTTPS, set force_ssl = "true" in config/ampache.cfg.php so every link Ampache generates uses it.
If you're just doing it internally for testing lets install!
Access Ampache Web Interface
Your Ampache website is now secured with Let's Encrypt SSL. Next, open your web browser and type the URL https://ampache.mysite.com. You will be redirected to the following page:
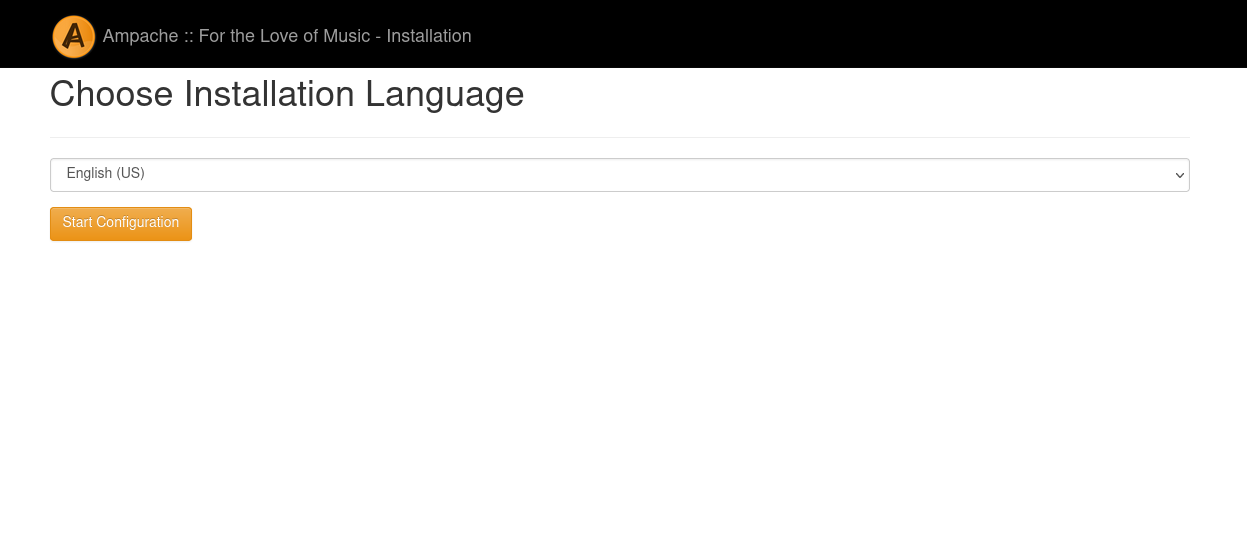
Select your language and click on the Start Configuration button. You should see the following page:
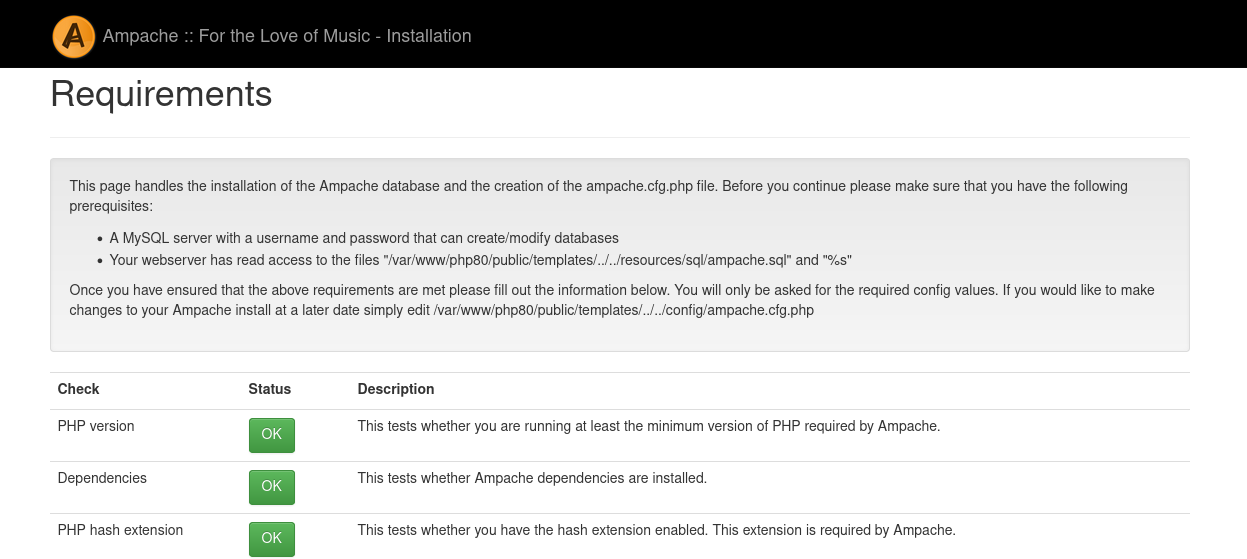
Make sure all the required PHP extensions are installed then click on the Continue button. A missing module is an apt install php8.5-<module> and an Apache restart away. You should see the following page:
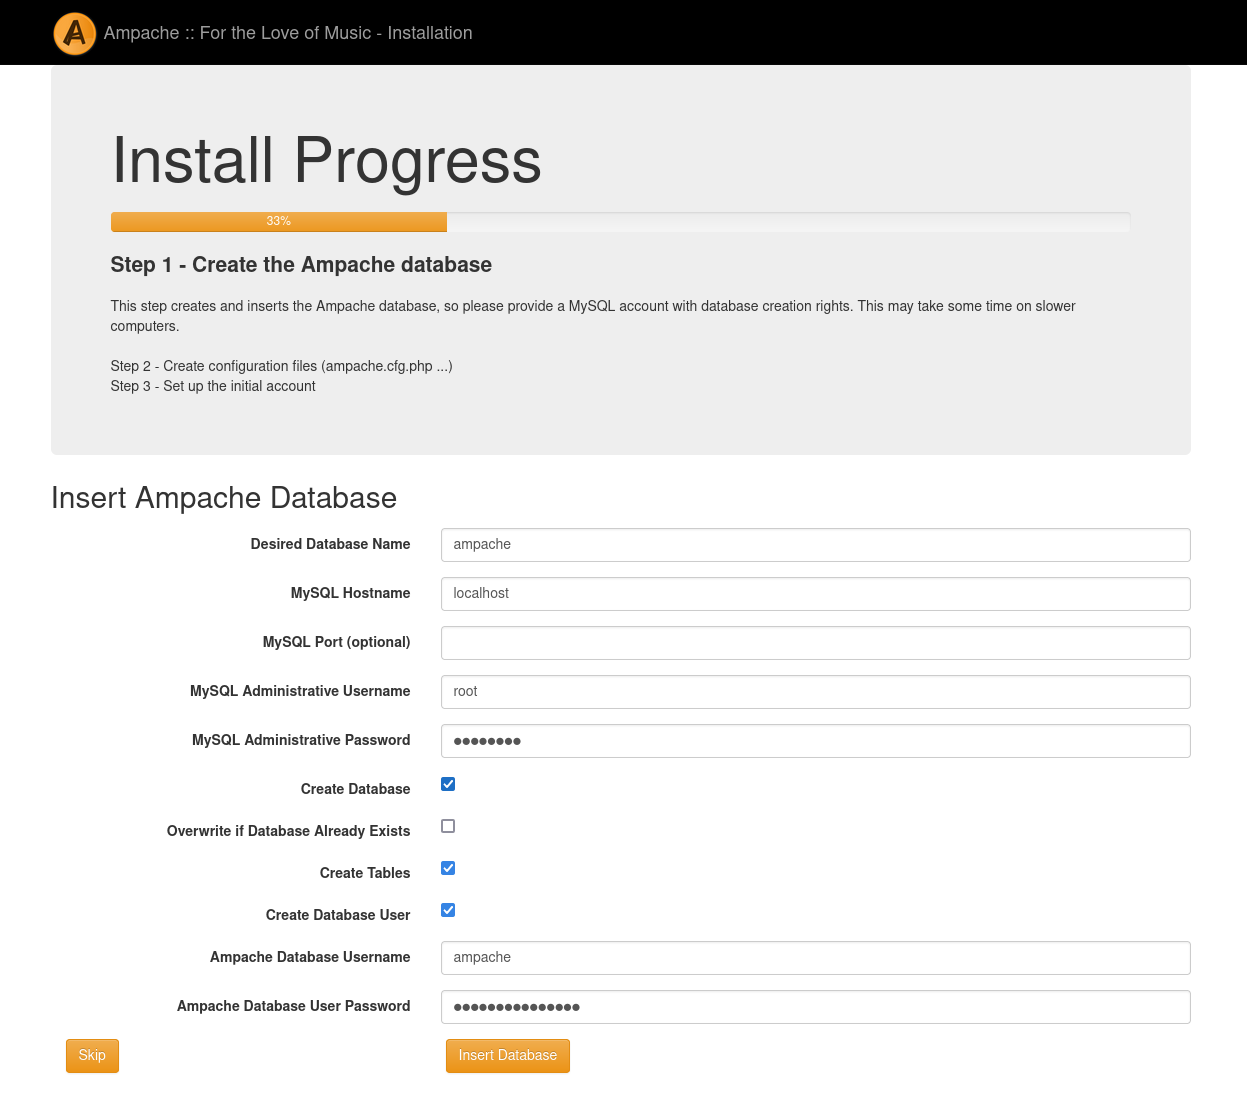
- Put in root as the database user and the password you chose earlier
- Make sure these items are checked
- Create Database
- Create Tables
- Create Database User
Give your new user a username and password (not your root password!)
Click on the Insert Database button. You should see the following page:
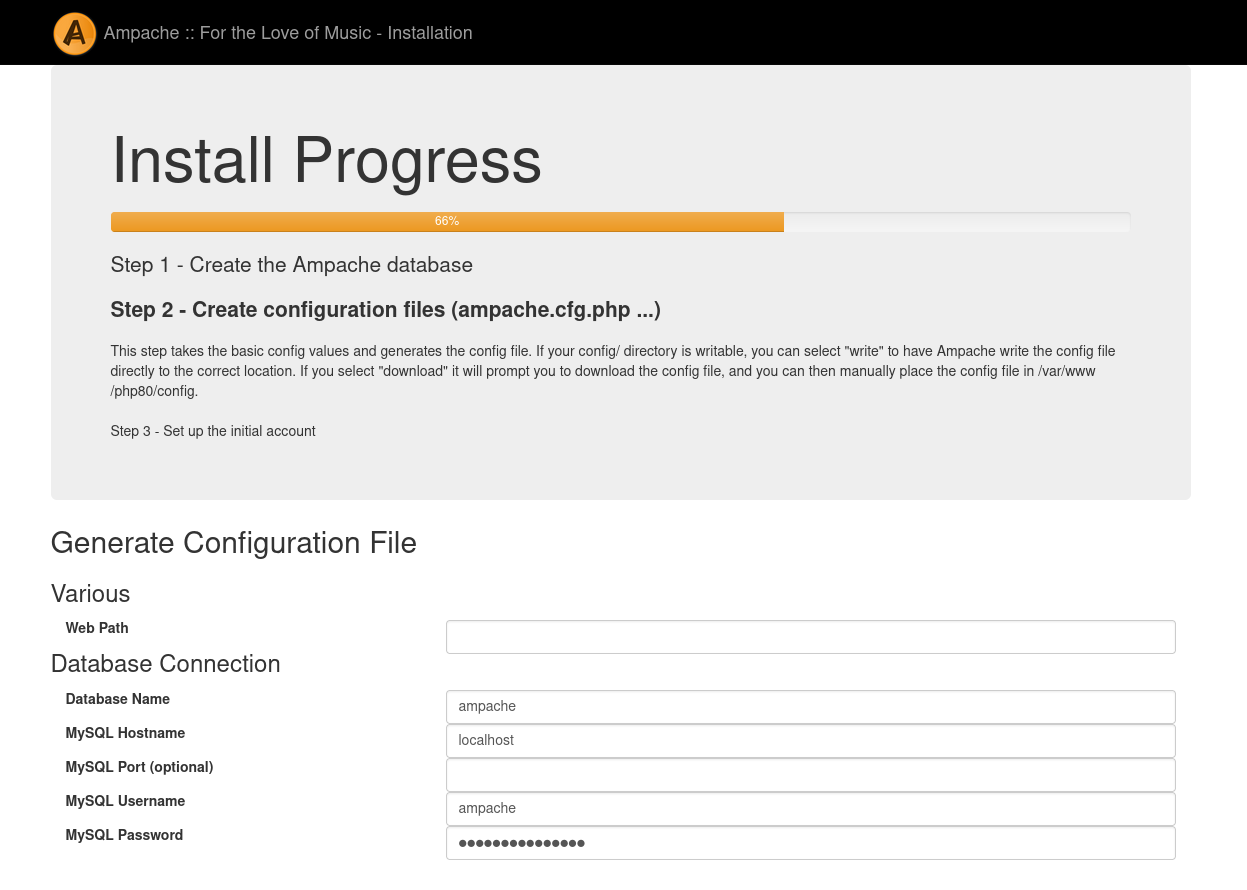
If you want to be able to transcode files, select ffmpeg and click on the Create Config.
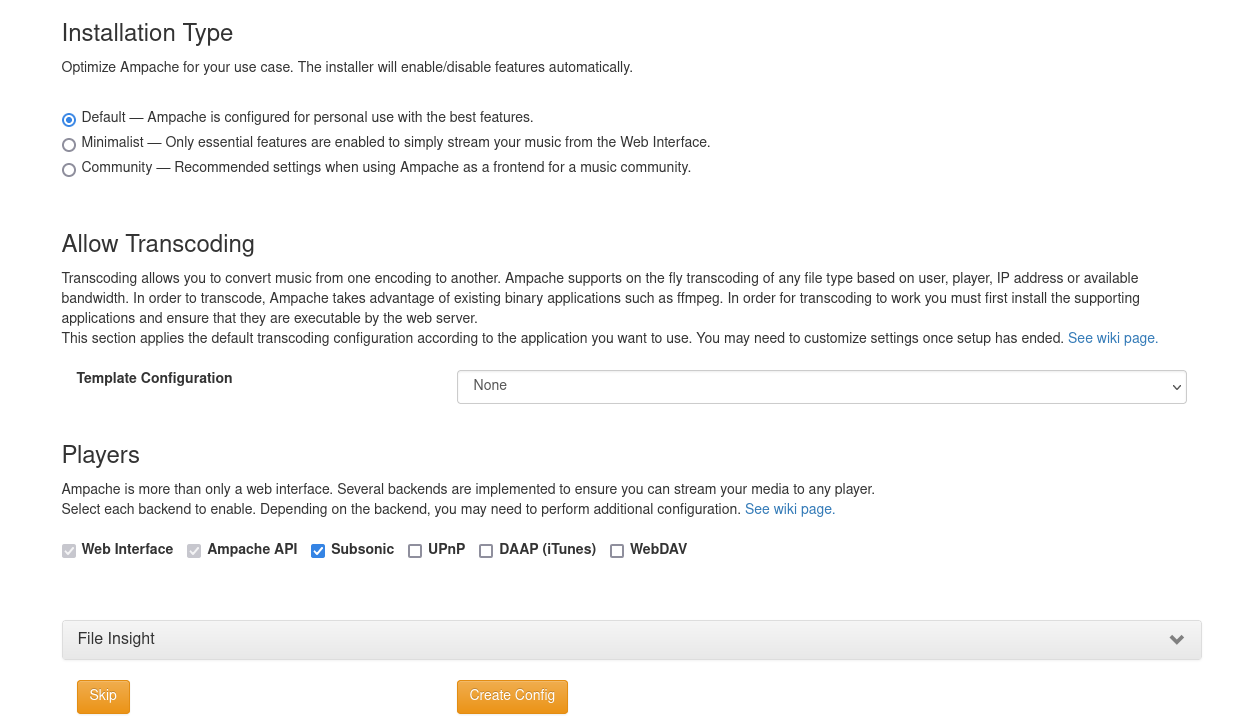
You should see the following page:
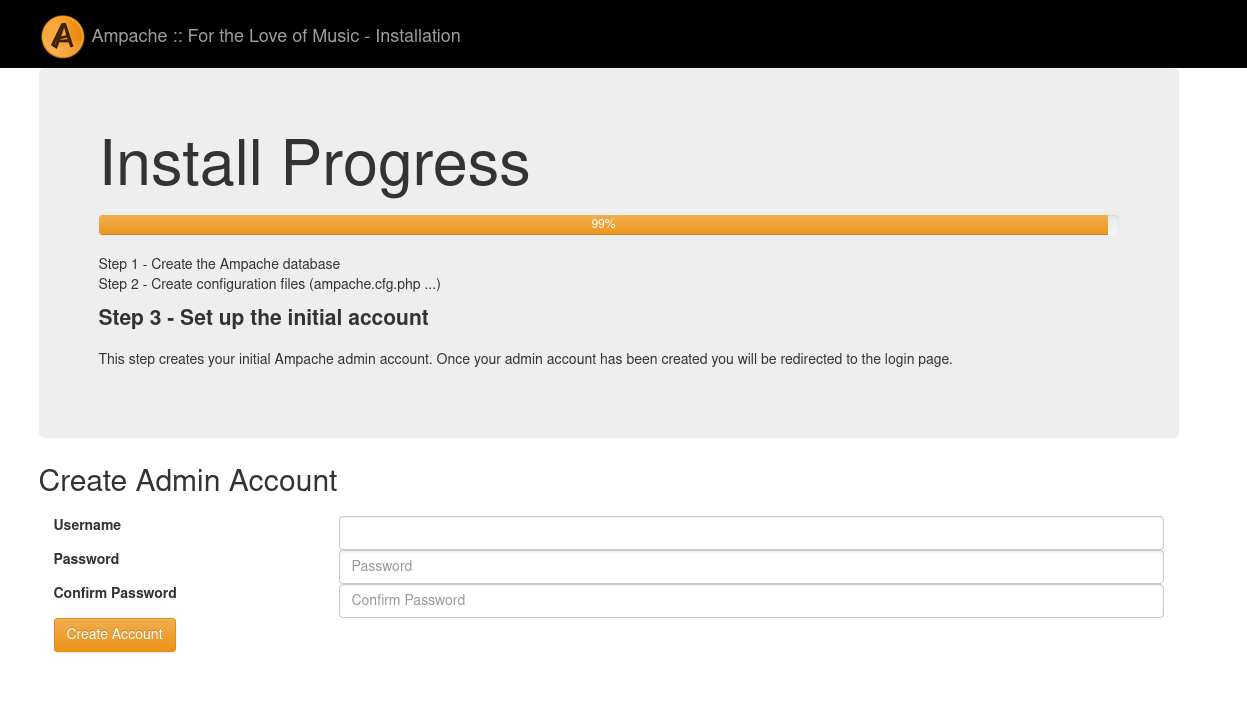
Provide your admin username, password and click on the Create Account button.
If there are database updates to install You may see the following page:
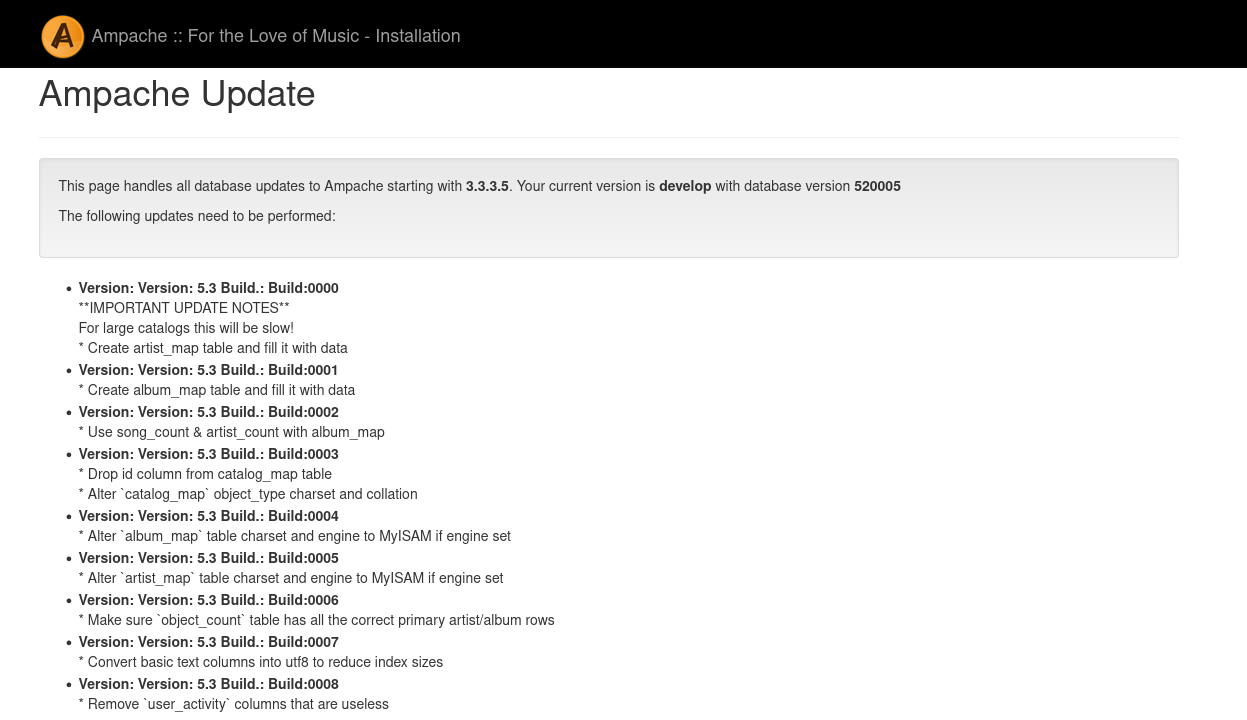
After the updates are installed click on the Return to main page link:
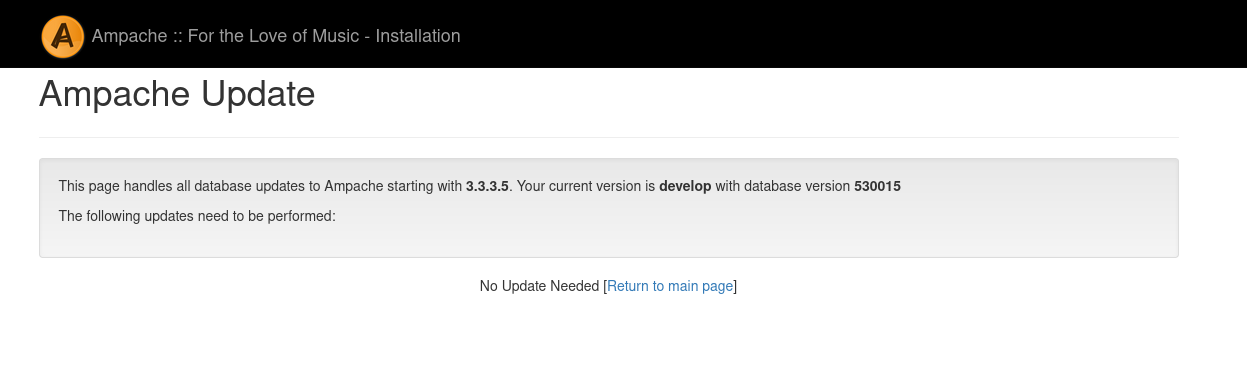
You should then see the following page:
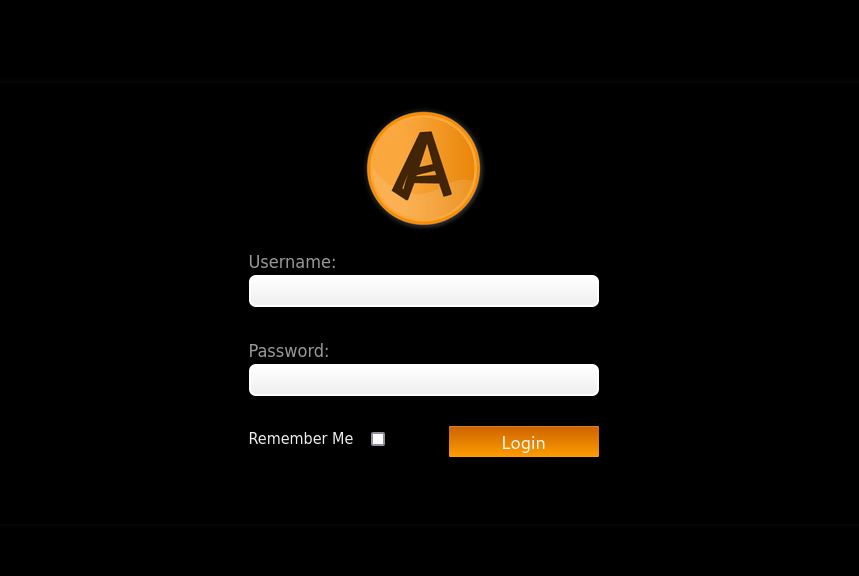
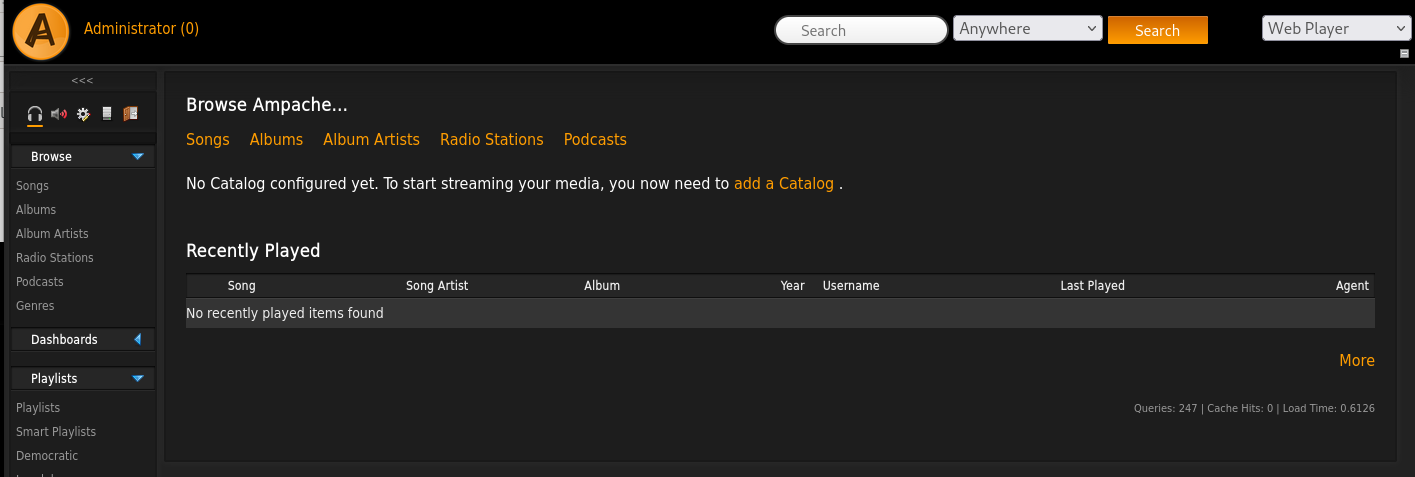
Provide your admin username, password and click on the Login button. You should see the Ampache dashboard in the following page:
Conclusion
Congratulations! you have successfully installed and secured Ampache on Ubuntu 22.04 server. You can now create your new catalog, upload your music and play them over the internet.
Next steps:
- Add your music as a catalog
- Set up a cron job to keep catalogs, podcasts and statistics current
- Check out the Basic Configuration guide for more info about setting up your new server
- When a new Ampache comes out, follow Upgrading